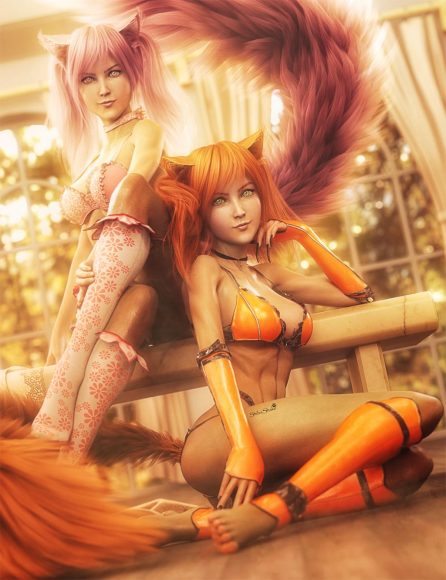
Below is the completed Cute Cat Girls image. Some of the items I used in this image include –
- Aiko 8
- Kinley Hair with dForce for Genesis 3 and 8 Female(s)
- Anime Kitten Hair for Genesis 2 Female(s)
- DAZ Studio Iray HDR Outdoor Environments
- Anime Lingerie Set 2 For Genesis 8 Females
- Anime Lingerie Set 3 For Genesis 8 Females
- Enchanted Forest: Kitsune for V4
Showing pre and post-work images are always a bit complicated for me because I render each of my light layers separately, and then compose them in Photoshop. Therefore, my pre-Photoshop images are only single light images. As a result, I will show a sequence of images below that mark the different key stages of my post-work process.
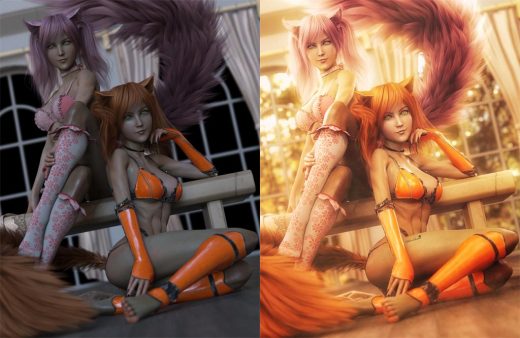
1. Pre-Photoshop Image with a Single Light
First, we show a pre-Photoshop image with just an environment light to the left, compared with the completed image with all lights and post-work to the right.
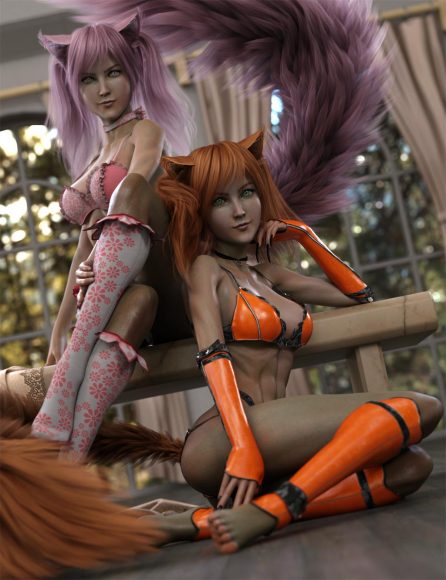
2. Combine Light Layers in Photoshop
This next image, shows what we get after we combine all light layers in Photoshop.
3. Main Photoshop Post-Work
Subsequently, we add color filters, adjustment layers, sharpness layers, volumetric lights, and more in Photoshop. This is the meat of our post-work process which we describe in greater detail here.
One common question that I get is how much paint-overs do I do. I only do minor paint-overs for fixing collisions, poke-throughs, or other little render mistakes.
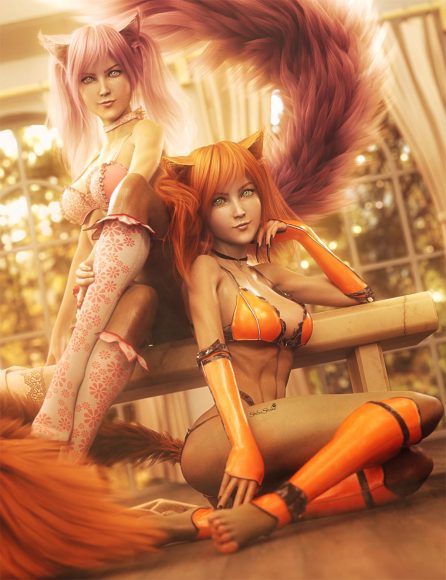
4. Final Step – Add Detail
In the final step, we add detail using Color Efex Pro 4 from the Nik Collection. You can get the Nik Collection for free from Google, so definitely worth checking it out.
At this stage, I may also add a bit more contrast and color filters.
If there are more images that you would like to see pre-post images of, feel free to let us know in the comments section below. 🙂


