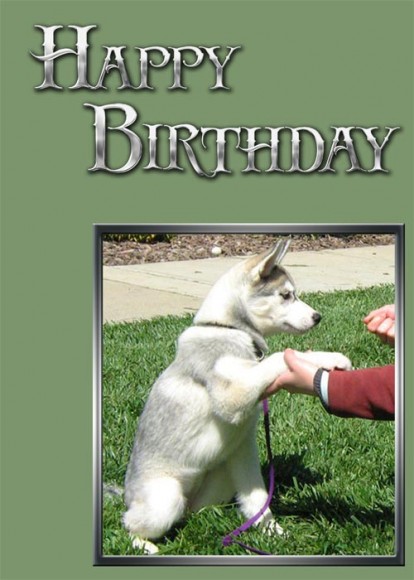
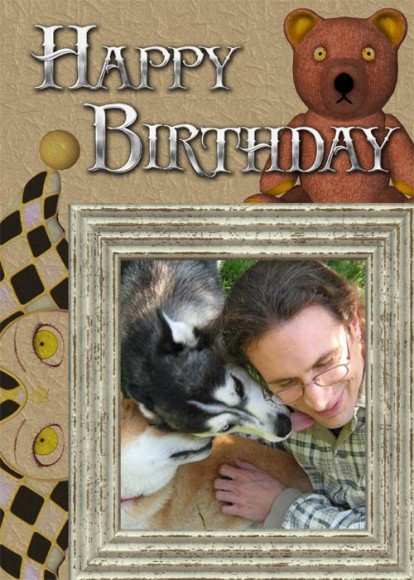
Photo greeting cards are customizable cards where we may insert one or more photos of our choice. For example, below we have a birthday card with a photo of my Siberian Husky puppy Shania.
A photo greeting card usually consists of one or more of the following elements –
- Background paper.
- Photo frame.
- Empty area in which to insert our personalized photo.
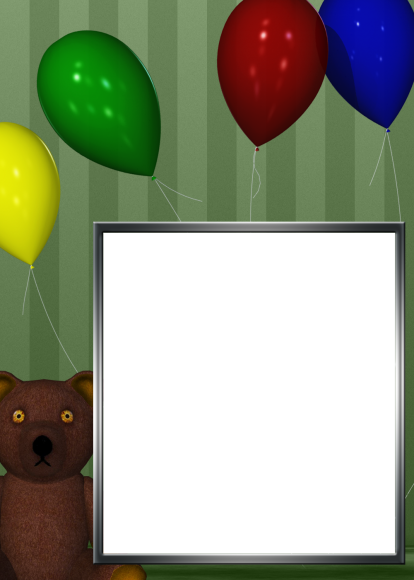
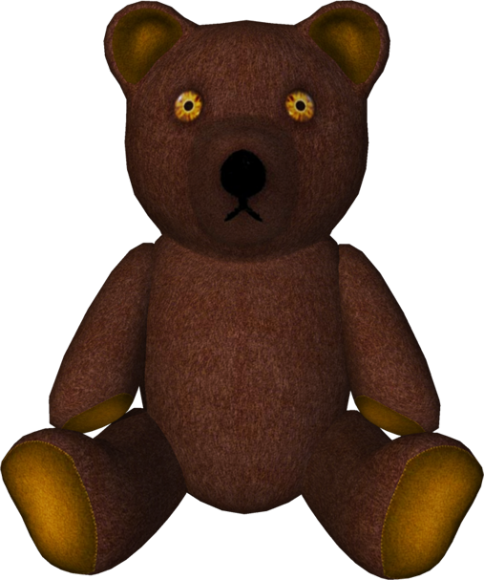
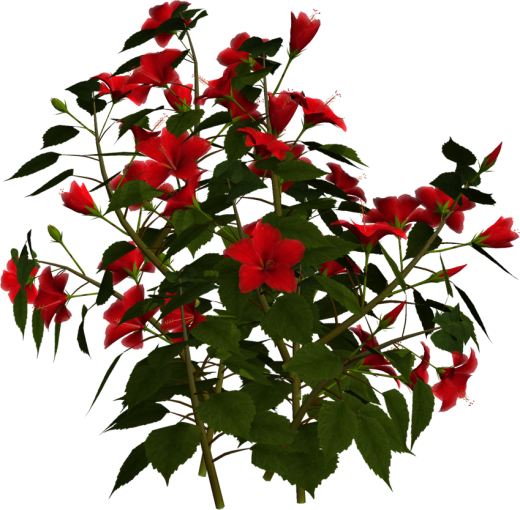
- Card decorations (for example the balloons and teddy bear).
- Card lettering.
Here we describe how to make our own photo greeting cards. We also include a variety of basic image elements including textured background paper, frames, and more to help you get started.

Source: Photo Greeting Cards at Zazzle
Photo Greeting Cards 1 – Background Paper
The first step in making a photo greeting card is to create appropriate background paper. We can create a simple background by just filling it with a flat color, but this will produce a less compelling card as is shown below.


Example photo greeting card background. Click on the gallery picture links for a full sized image.
Instead of a flat color, we want to texture our background.
- Pattern overlay – The second thumbnail below shows a background with a patterned overlay. I created this by overlaying a patterned brush onto my flat color layer within Photoshop. There are many free Photoshop brushes that we can get on the web.
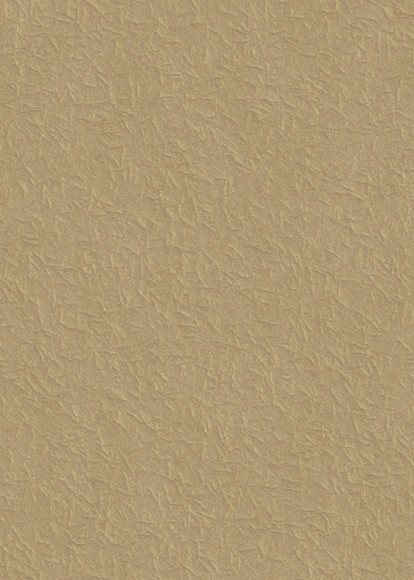
- Textured background – There are many ways to create a textured background using Photoshop. Since we are making a greeting card here, we may want to create a paper textured background (3rd thumbnail below). I created the paper textured background using Filter Forge.
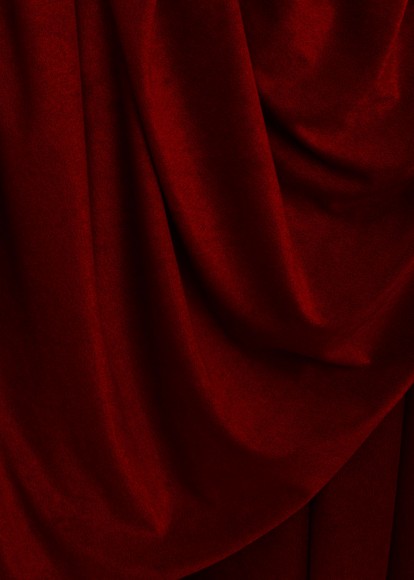
We can also create our textured background using tiles and brushes. For example, the 4th thumbnail below features a folded cloth background that I created using these folded fabric brushes.
To the right are some free greeting card backgrounds, for your personal card making needs. Click on the picture to get a full-sized version measuring 1000 pixels by 1400 pixels.
If you are thinking of getting Photoshop, you can usually get it for a lower price at eBay. Just make sure to check the rating of the seller.


Example photo greeting cards with different backgrounds.
Photo Greeting Cards 2 – Photo Frames
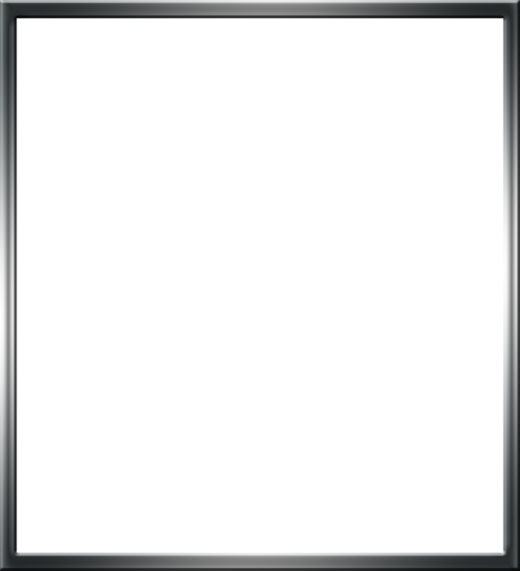

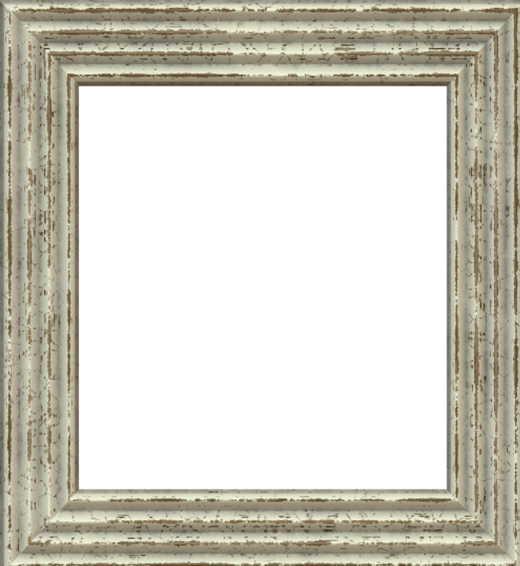


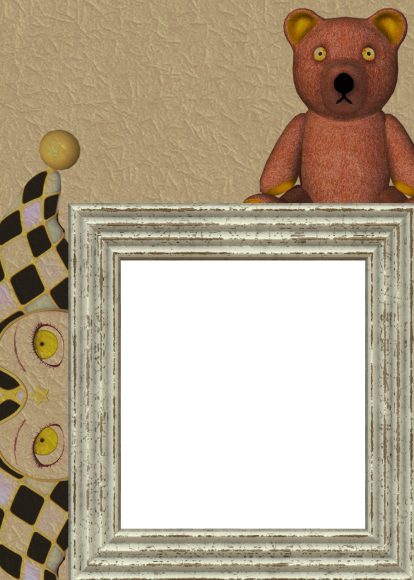
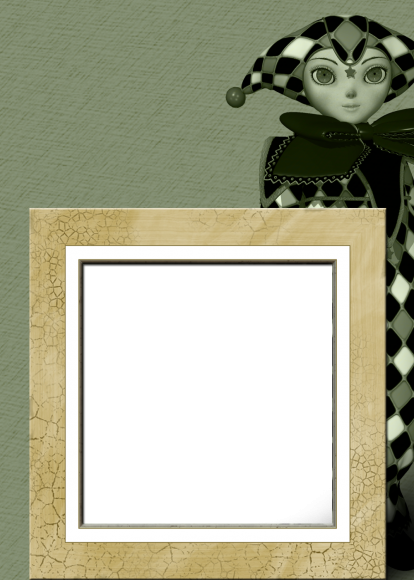
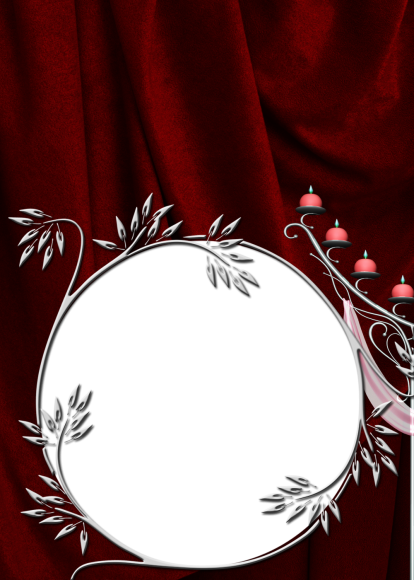
Example photo greeting card frames.
Once we have our card background, we want to create a frame for our photo. To the right is a simple frame I created with various Photoshop layer blending effects. I used Bevel and Emboss, Satin, and Gradient Overlay(see settings below).
We can also create frames by using Photoshop brushes or Filter Forge.
To the right I created a few free frames that you can use for your personal greeting cards.Click on the picture to get a full-sized PNG version of the frame.
Once we have chosen a frame, we can cut out a section of our card to accommodate our personal photographs. A simple way to do this is by using the Magic Wand tool in Photoshop (Shift-w).
- I just select the Magic Wand tool (Shift-w) and click in the space within the frame.
- This will select the space within the frame.
- Then, use this selection to cut out a section of my card so that it is transparent.
- Finally, I just layer my greeting card template over my photograph, so that it shows through the cut section.

Photo Greeting Cards 3 – Lettering & Decorations
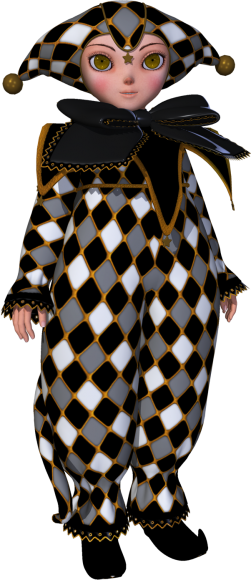


Example photo greeting card decorations.
Finally, we want to add lettering and decorations around our card. This is the part that I enjoy most because I get to compose together different objects and images to create a compelling background picture.
In general, we want to pick decoration items that –
- Fit our photo card theme. For example, for birthday card pictures, I decided to use a cute clown, teddy bear, and rocking horse as decorations. Flowers are also a great addition because they fit into almost every theme.
- Integrate well with our card color scheme. We want to pick decoration colors that fit well with our card lettering and background color.
If we are using Photoshop, there are a variety of fonts and font blending options to choose from. I usually use the Drop Shadow blending option to make my lettering stand out.
We can also create lettering from within our card creation software or site. However, most of these interfaces will likely not have the range of blending effects that are available on Photoshop. Usually, I create my lettering in Photoshop and them import them into my card creation site as a PNG file.

Free Photo Greeting Cards
Hope you enjoyed this tutorial.
Below are several completed photo greeting cards. You can put in any lettering that you want, and personalize it with your own photographs. Feel free to use these templates for your personal card making needs. Click on the pictures to get a full sized PNG version measuring 1000 pixels by 1400 pixels.