When creating a scene, I like playing around with different poses for my main figure(s). I do this by assigning the different poses across different timeline frames. In this way, I can quickly and easily go through all of poses, and pick the one that I like best.
However, this means I also end up with a Daz Studio scene file that has many unfinished and unused frames. This clutters up the scene file, and makes it more difficult to share and understand.
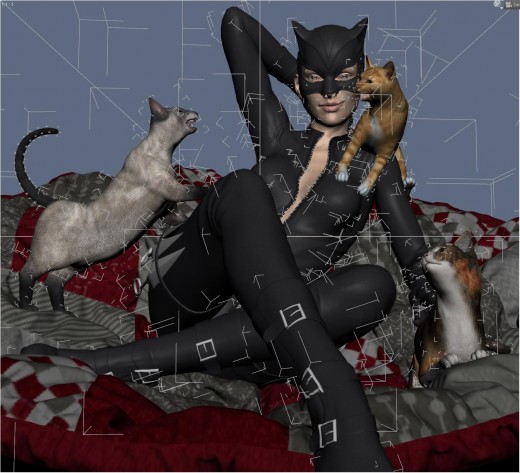
What I really want, is a simple procedure for saving out the one frame that I used in my final scene. This tutorial explains how to do that. Catwoman image below uses Have a Seat Poses and Prop.
1. Copy the Chosen Frame to Frame 0
- Go to the frame we want to save.
- Click on the Scene tab.
- Delete any unused objects.
- Do Ctrl-A to select all objects in our scene.
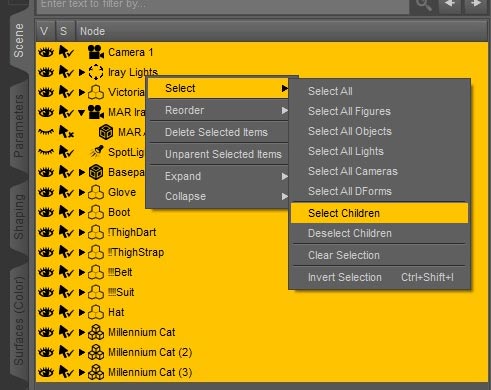
- Right-click on our selection, and pick Select > Select Children from the menu. This selects everything in our scene.
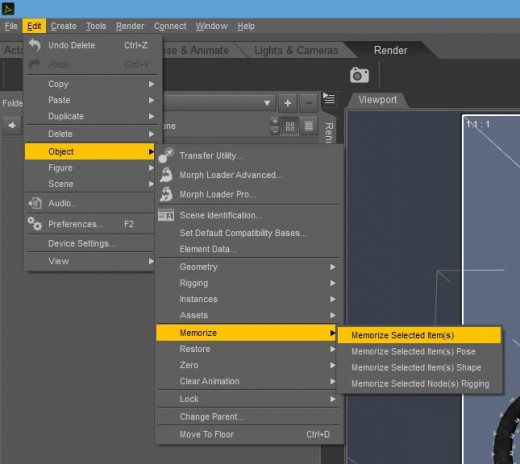
- To copy this frame, select Edit > Object > Memorize > Memorize Selected Item(s).
- Go to Frame 0.
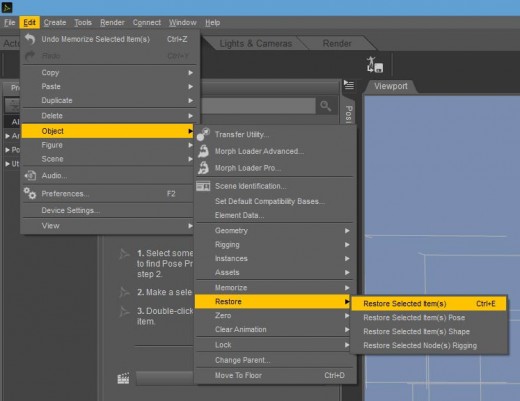
- Select Edit > Object > Restore > Restore Selected Item(s) to paste our saved frame into frame 0.
After we do this, our main scene should look something like this. There are many rectangles in there, indicating that there are many selected objects.
After we do this, frame 0 should be an exact duplicate of our chosen frame (i.e. the frame we want to save).
2. Remove All Frames Except for Frame 0
- Go to the Pose tab.
- Go to the Timeline view.
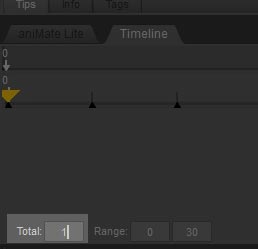
- Set the Total Frames to 1. When we do this, only Frame 0 will be available (see figure).
- Save our Scene.
- Reopen it in Daz Studio, and there should only be a single frame.
We Are Done!
Hope you found this mini-tutorial to be useful. 😀

