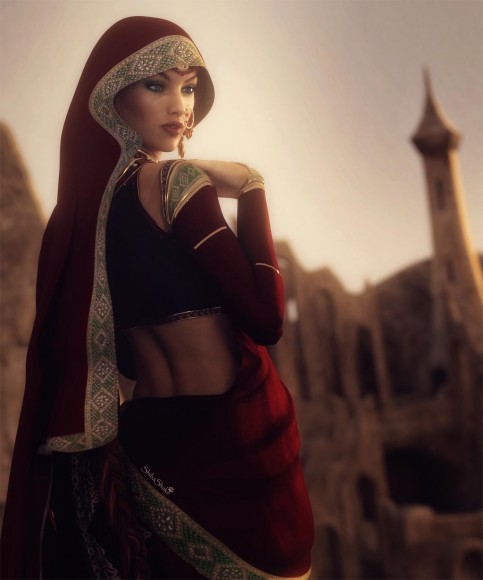
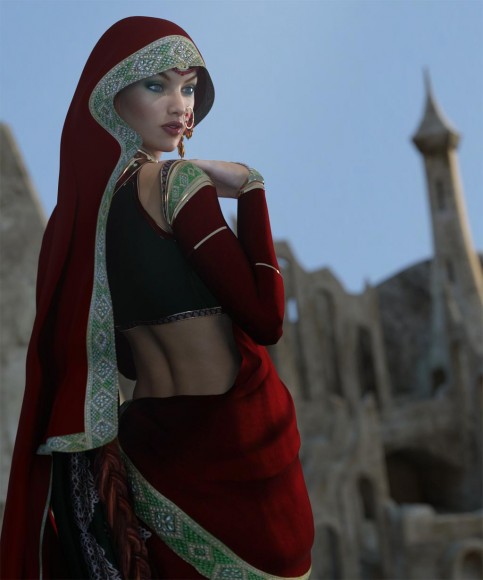
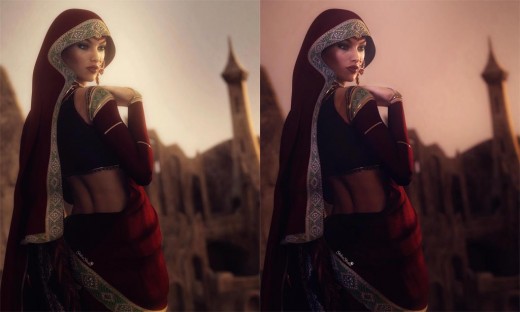
There is no single “right way” to do lighting in Daz Studio Iray. In this tutorial, I will describe my lighting process, which is geared towards figure based compositions. In particular, my images focus on one or a small number of actors, and everything else is built around those figures.
I use three main classes of lights in all my Iray scenes-
- An image based light (IBL). This is a HDR image that I use in Render Settings > Environment > Environment Map.
- Three mesh lights arranged according to the three-point light system.
- One or more volumetric lights for softening effects and atmosphere.
Then, I may add point-lights or emissive surfaces based on composition.
We will use the image above to illustrate the different classes of lights and why we use them, in this tutorial. The outfit and hair used in the image are from the NeoIndia Outfit and Hair Bundle by Arki and Shox-Design. The ruins in the backdrop is Mandgadfor by powerage.
1. Image Based Light (IBL)
I usually use a HDR image for this to provide my scene with –
- Realistic ambient lighting.
- Realistic reflections.
- Realistic background that is consistent with both lighting and reflections.
This beginner Iray tutorial has more on how I use a HDR image in Daz Studio Iray.
How well our IBL illuminates the scene will depend in large part on the HDR image we are using. In particular, what range of values it supports. The higher the range, the better the results.
I think about it this way … sunlight is a very strong light source, and its value should be many many times greater than anything else in the scene. Using a regular JPG image that only supports 255 values per pixel, is not going to work well for scene lighting. This is because the difference in range between our very bright sunlight and everything else will be overly compressed. I.e. a lot of light information in our IBL would be lost due to range limits.
A decent JPG can serve as a good enough background, but it will not be sufficient for providing good realistic scene lighting.
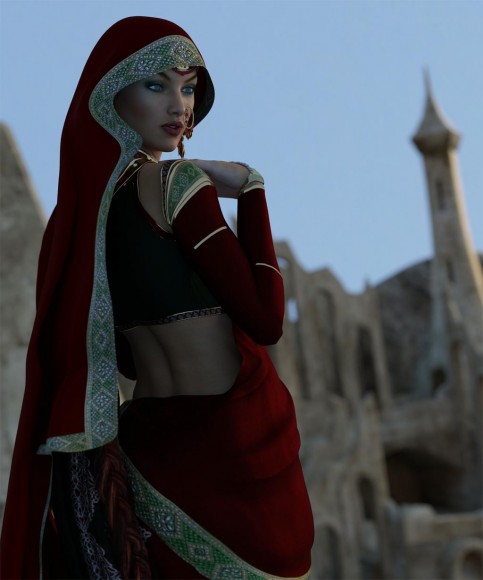
Below is our Princess of the East image, with just the IBL turned on. Here, we are using the Barcelona Rooftops HDRI from sIBL Archives. Here is a list of free HDRi sites. Dimension Theory and Orestes Graphics also has some great HDRi’s for Iray.
2. Mesh Lights
If we are already using a good HDR image, why do we need to add mesh lights?
I add mesh lights to highlight my main figure(s) and make them stand-out from the rest of the scene. This is especially important in figure based compositions, because the focus of the image is on the main actor(s) in the scene.
I think about it this way … when we go out walking in the streets, the scene around us is very busy. Although we may imagine ourselves to be the center of attention, no single individual stands out from the rest. This is what we get with a HDR image.
In contrast, during a model photo-shoot, lights are added to bring out the figure so that it grabs the viewer’s attention.
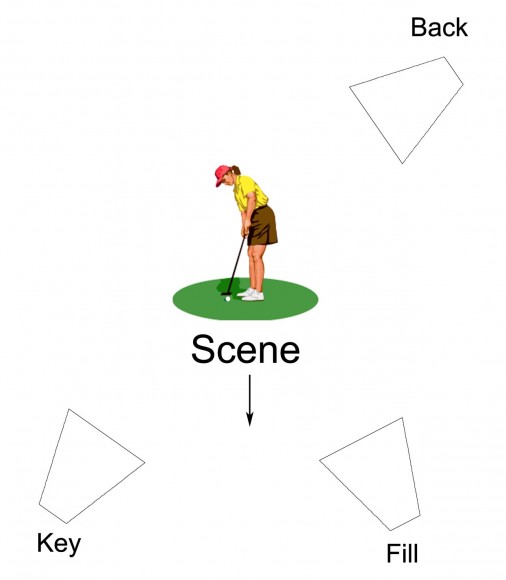
- To highlight my main figure(s), I add three Daz Studio spotlights (Create > New Spotlight).
- I place my three lights according to the three-point light system (key, fill, back).
- Then, I convert each of my spotlights into mesh lights by setting the Light Geometry parameter to Rectangle. This will give me softer shadows. For more details on how to convert a spotlight into a mesh light refer to this article.
- I want my back light to have the sharpest shadows, so I set its size to be the smallest of the three. I want my fill light to have the softest shadows, so it gets the largest rectangle. The key light is somewhere in-between the two.
- Finally, I select my three lights and add them to a group (Create > New Group), so that I can move them and rotate them together. In this way, I can easily center my three lights around the main figures within my Daz Studio scene.
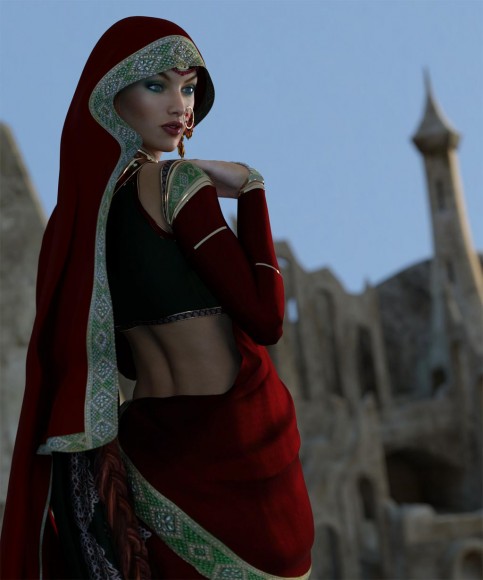
After adding the three mesh lights to my IBL, my figure stands out a lot more from the background, and there is a much stronger silhouette on my figure. If we compare this image and the previous one, with just the IBL, we can clearly see that the lighting is more compelling here and the figure pops from the background.
If you do not want to create a light rig from scratch, the BOSS Pro Light Set for Portraits & Promos has ready-made key, fill, rim lights, and much more.
3. Volumetric Light
I also like to add at least one volumetric light to my images to provide additional shadows and atmosphere. In this case, I add a spotlight shining onto my figure’s face. I then render it as a volumetric light by using Marshian’s AtmoCam for Iray.
You can also create your own volumetric light. Here are a few ways.
Finally, I re-tone the image some, add a little bit of glow, add some contrast, and I am done!
You will notice that I do not talk much about light intensities in this tutorial. This is because I usually render each light in a separate layer, and later combine them in Photoshop. I control intensity, tint, and more from within Photoshop.
Depending on how I combine these lights, I can create a day-time scene or a sunset scene. I can create a realistic image or a colorful fantasy setting.
