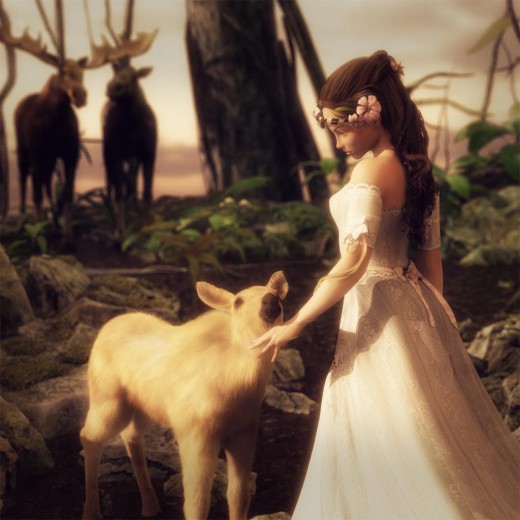
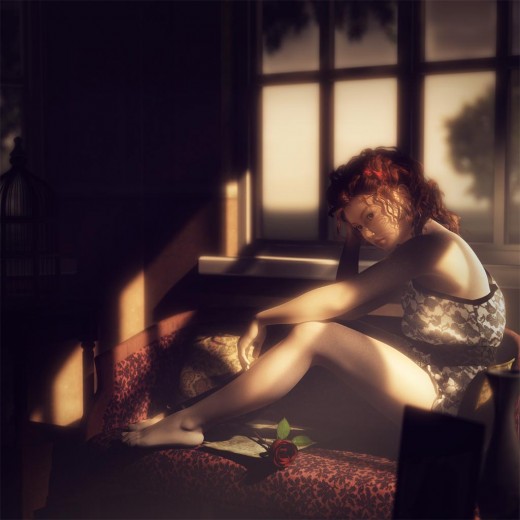
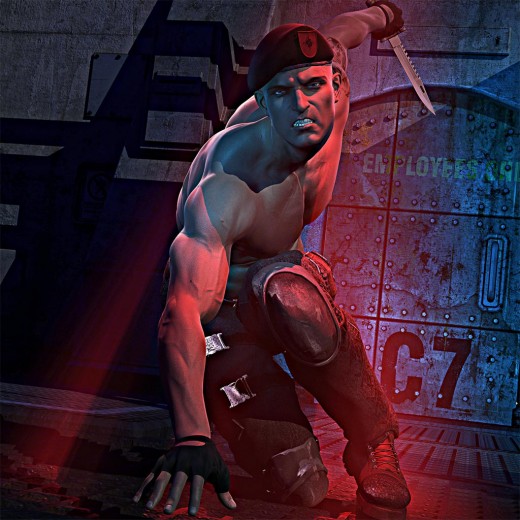
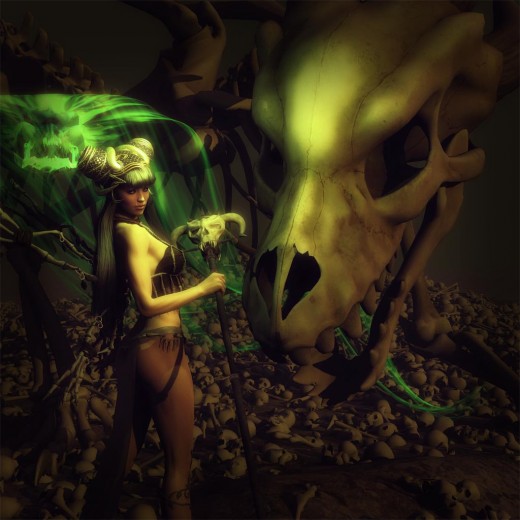
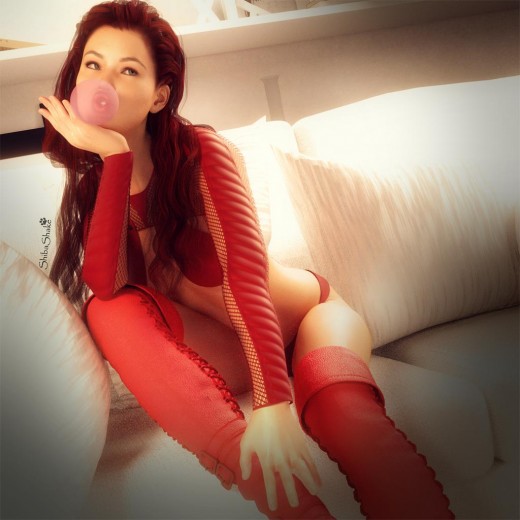
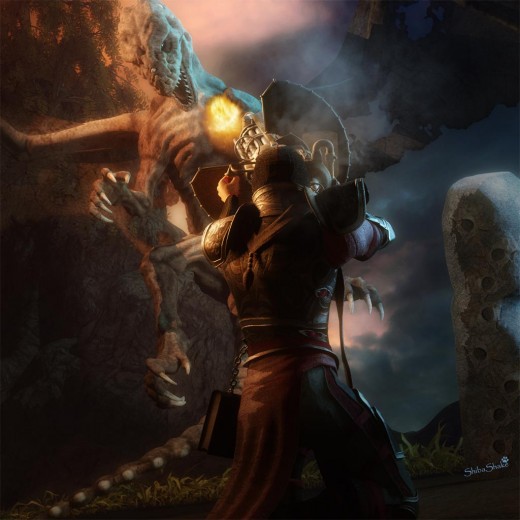
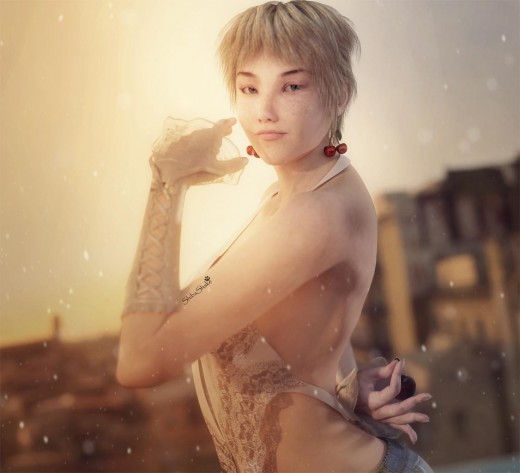
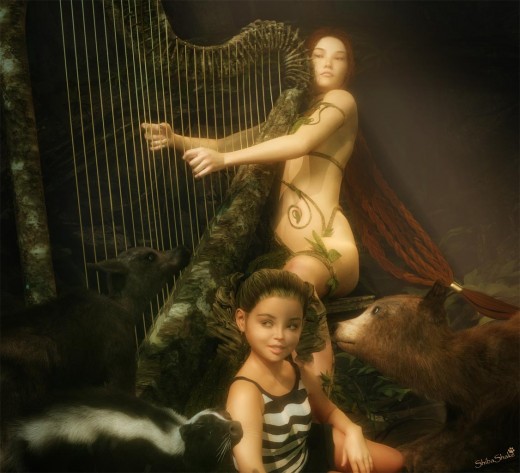
I have gone through several big changes in my 3d-art lighting setup. Here, I talk about my Daz Studio lighting journey, from the simple headlamp to what I use in Iray today. I discuss why I made each change, and what I found to be the advantages and disadvantages of each.
Remember, however, that good lighting is dependent on the type of images that are created. I mainly create character based 3d-art, where there is a central figure(s) (e.g. person, animal, alien, robot) that is the main focus of the image. There are surrounding elements and an appropriate backdrop, but they are all in support of the central figure.
As a result, my lighting setup is also geared towards those types of images and may not be as appropriate for other types of renders, such as those that focus on landscapes, architecture, or large-scale scenes.
1. Headlamp
When I first started creating 3d-art, I spent most of my time on figures and posing. At the time, I didn’t know much about lighting, so I went with what was the default in Daz Studio, which is the camera headlamp.
The camera headlamp is a light mounted at the top of our active camera. In this way, it lights everything in our scene equally (i.e. everything pointed to by our active camera). This makes it very easy to set up scene lighting because –
- I do not have to manage or add any lights of my own.
- Everything is lighted well, so my main figures and their faces are not covered by unwanted shadows.
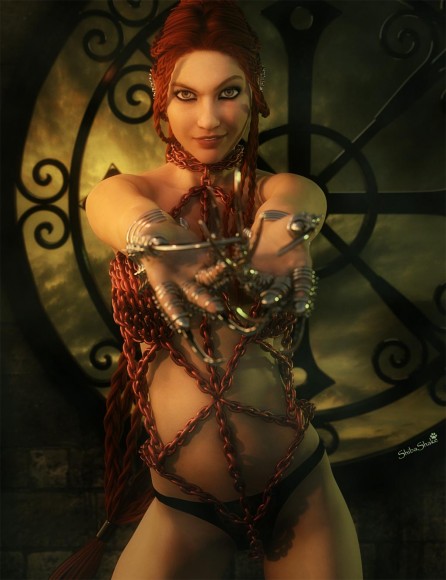
Unfortunately, this type of equal lighting also makes my image appear flat, overly bright, and non-realistic. This was less of a problem when I only used my images in support of my online articles or for creating website headers. However, my goals soon changed.
At the time, there were a couple of contests going on at Daz3D, with some fantastic looking entries. Some entries were artistic and fantasy based, while others were more realistic. However, they all had interesting lighting which set them apart from everything else. These images and their wonderful artists inspired me to start learning more about lighting my 3d-art scenes. This artist is one of my top favorites when it comes to lighting.
2. Uber Environment Light and Spolights
The first thing that I did, to learn more about lights in Daz Studio, is to use one of the light sets that I already owned. The light set that I applied had an Uber Environment light and a couple of spotlights, so that became my new lighting setup.
A problem that I encountered right-off is that the faces of my primary figures were not bright enough, and were often set in shadow. I quickly discovered that I could solve this problem by cranking up the Uber Environment light.
The Daz Studio UE light is used to simulate environment as well as ambient or bounce light. Environment light is provided by an image that is attached to the UE light. There are also other controls in the UE light parameters to adjust shadows, bounce, render quality, and more. This very simple tutorial has the basics on how to use UE lights in Daz Studio.
The truth is, I never really played around much with Daz Studio’s UE light. All I did was apply a preset light group (I think I used an early one by Dimension Theory), crank up the UE light until my primary figures were bright enough, and that was it.
Note that UE lights only work in 3Delight and NOT in Iray.
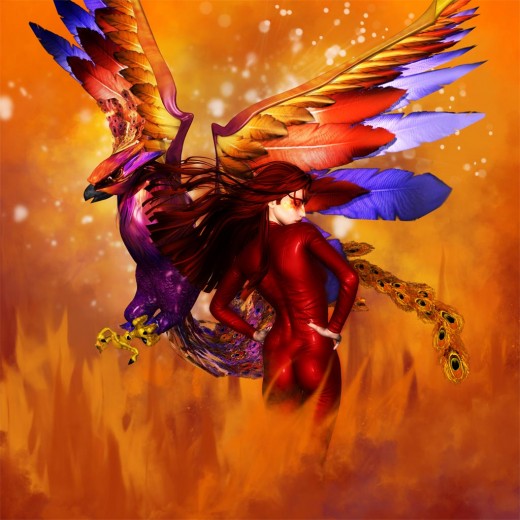
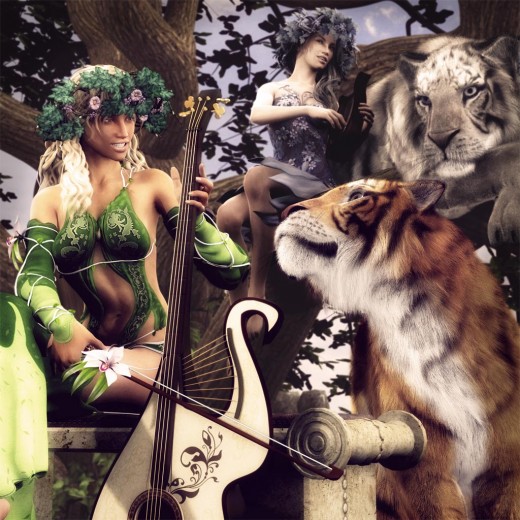
The images above are a lot more realistic than the headlamp example. There are also some shadows which give the figures more depth and shape. However, because I am simply cranking up the environment light, the image is still fairly flat, due to the consistent lighting. The figures do not pop out from the rest of the environment, and the light is not very interesting because it is bright throughout. In particular, there is not enough contrast between the figures and the background, and also within the figures themselves.
3. Dreamlight and LDPR
At this point in my Daz Studio lighting journey, I saw a picture in the Daz3D Gallery that had wonderful lighting, and used something called Light Dome Pro – R (There is now also a version for Iray). I was intrigued.
I did some research, and the next time Dreamlight’s store was on sale, I got LDP-R and the DAZ Studio Illuminated tutorial.
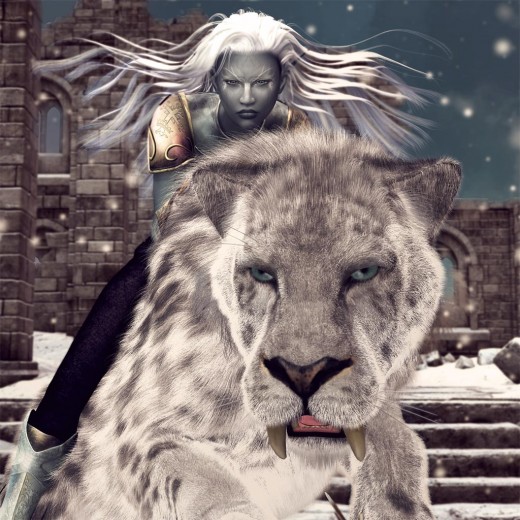
Based on the beginner skill level I had at the time, I learned a lot from the tutorial. I now started learning how to add glow, tint, depth, and better contrast to my pictures. Compare the image below and my previous images, and you can see a marked improvement.
Some things that I learned from LDP-R and Dreamlight’s tutorial-
- I learned how to add glow and tint in postwork (Photoshop).
- I learned how to render my light sources into different layers and do fast lighting adjustments within Photoshop.
- I learned how to create interesting shadows and contrast with a distant light (mimicking sunlight).
- I learned how to properly light my main figures.
In my scenes, I would have the sunlight from LDP-R, and I would add in some spotlights to accent my figure according to the 3-point-light system. Occasionally, I would add in some environment lights if I want to accent anything in the background.
Next, I would render everything into layers using the LDP-R system. Then, I bring everything into Photoshop where I can further manipulate the strength of each light through Photoshop’s powerful layering system. Once that is done, I run the Miami Filter action which comes with the LDP-R package. This action adds glow, tint, and a vignette effect to my Daz Studio render.
4. Colored Lights and Light Rays
One of the things that was still missing though, is color. I enjoy doing fantasy type 3d-art, and much of the fantasy artwork that I admire, not only has great high contrast lighting, but also very saturated colors. Therefore, I wanted to explore using colored lights and also those cool looking light rays.
This was where I discovered Age of Armour’s wonderful lights and his Atmospheric Effects Cameras package. The Atmospheric Effects package contains a volumetric camera that allows me to easily render great looking light rays. I would render this in a separate image, and then integrate it within Photoshop.
Note that at the writing of this article, these AoA’s lights and cameras only work in the 3Delight renderer and NOT in Iray.
At this stage, I stopped using the Daz Studio portion of LDP-R, but I continued to apply the lighting principles I had learned previously.
- I use AoA’s ambient light to illuminate the entire scene.
- I add one distant light, similar to the sunlight added by the LDP-R system to provide sharp shadows.
- I add spotlights (according to the 3-point light system) to make my figure stand out.
- Finally, I add a spotlight to produce my light-ray. I render this light separately using AoA’s volumetric camera.
Soon after, I also discovered Advanced Light Presets for AoA’s Lights by Dimension Theory. These presets provided another way to add more interesting light and color into my 3d-art scenes. Instead of using just one ambient light and one distant light, I would instead use one of the presets in Dimension Theory’s package.
I usually use the distant light presets which contain one ambient light, and three distant lights. Then, I re-adjust the colors of the lights and the shadows, according to the look that I want. Usually I set one distant light up as sunlight, with sharp shadows. All the other lights I leave it at their original soft shadow settings.
In this scenario, I no longer need to separately light my figure with spotlights, as the multiple distant lights provide an interesting enough effect. I may sometimes add a spotlight to brighten my figure’s face, if it is in shadow.
5. Reality Plugin and LuxRender
After exploring colored lights for a few months, I became enchanted with some of the realistic looking renders in the Daz Gallery that were made with the Reality plugin and LuxRender. I won’t go into it in great detail here, because I already have a detailed article comparing the renders that I could make before, and what I can make with Reality and Lux.
From a lighting perspective, there are several key differences-
- There is no ambient light in Reality/Lux. Bounce light, which is what ambient light tries to simulate, is physically modeled in Lux, thus ambient surfaces and light are no longer needed.
- The use of distant lights are greatly discouraged since it causes unrealistic illumination. Because I relied very heavily on distant lights previously, this was a big change for me. Instead of using distant lights, I now added mesh lights to illuminate my figure(s) (still according to the 3-point light system).
Mesh lights provide soft shadows and realistic illumination that takes advantage of the physical realism provided by the Lux renderer.
- The Reality plugin also comes with a Sunlight object that I use to light my entire scene and provide shadows.
- Finally, LuxRender has a great light-group mechanism that allows us to save each light group into a different image. This is similar to what LDP-R did for us previously, except that there is great flexibility here in creating as many light groups as we want.
In addition, unlike LDP-R, we only need to make one render pass, which is a really good thing, since it takes a pretty long time to get a good quality image. I usually leave my renders on over-night.
Note that even though I am using a different lighting system, many of the lessons that I learned before are general, and can be applied to all my 3d-art renders.
6. Daz Studio Iray
Like Lux, Daz Studio Iray is also a physically based renderer. Based on my renders so far, I think that the results of both renderers are very comparable, in terms of quality. However, I have decided to focus most of my energies on the Iray renderer.
- The main reason for this is because Iray is integrated with the Daz Studio system. As such it will get great vendor support, which we are already seeing in the materials and light sets being offered. For me, this is an enormous advantage over Reality/Lux.
- The Daz Studio Iray renderer is much faster than Reality/Lux if one has a good nVidia graphics card. For me, the good graphics card is absolutely necessary.
At the moment, Daz Studio Iray does not have the great light-group feature that exists in Lux. Therefore, I need to manually render each of my lights into a separate image. Because Iray is fast, this is not a big inconvenience and I no longer need to leave my renders on over-night. However, without fast rendering, this manual process would be excruciatingly painful. Ultimately, getting an image done would take much more time than in Reality/Lux.
In addition, Daz Studio Iray does not have the awesome recovery feature in Lux. Even when Lux crashes, I can recover most of the rendering work already done because Lux intermittently saves out a recovery file.
In short, I mostly use Iray now, because of vendor support and rendering speed. However, without a good nVidia card, I would probably stick with Reality/Lux because of the light-group and recovery features which are both extremely useful.
7. Conclusion
I have gone through many different lighting setups from beginner to now. However, in each step, I learned something new, and many of those lessons are general and can be applied later on.
What I have learned so far from this wonderful journey, is that knowledge is not wasted. I started with something very simple, and then slowly build up my knowledge one step at a time. I learned by looking at images in various galleries, and participating in 3d-art contests. Indeed, my very early images were weak in many areas, but the key is to identify those areas of weakness and learn how to improve on each one.
There are still deficiencies in my 3d-art today, but fewer than before. I have improved, gained some useful knowledge, and created some images that I enjoy looking at.
