One common way to light a Daz Studio Iray scene is by using an Environment Map. We describe how to do this in our Beginner’s Iray tutorial. Using good environment maps can help us realistically light our scenes, without too much effort.
Alternatively, if we set the Environment Map image to None, we get a set of controls for using the Iray Sun. But why even use the Iray Sun when we already have lighting goodness from our Environment Maps?
- The Iray Sun allows us to create interesting patterns of light and shadow.
- We have very good control of the position of the Sun.
- The functionality comes for free with Daz Studio, so we do not need to look for or purchase environment maps that fit our scene.
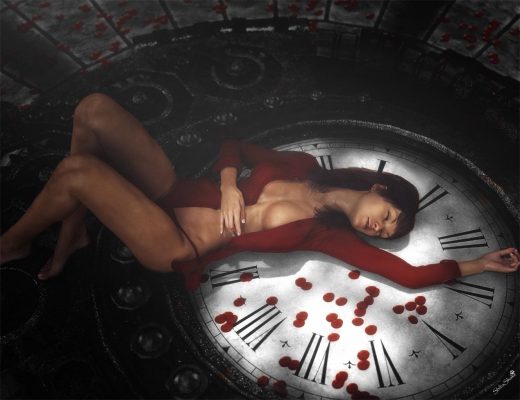
Finally, it does not need to be an either-or situation. We can combine both the Iray Sun and Environment Maps to get the advantages of both, while minimizing the drawbacks when used alone. In this tutorial, we discuss how to effectively use the Iray Sun to create artistic images, like the one shown below.
1. Picking the Right Environment and Props
The main reason why I use the Iray Sun, is to create compelling and realistic patterns of light and shadow in my 3d-art. For this to happen, I must include the appropriate environment or props in my scene, which will block sunlight in exactly the right way and cast the shadow patterns I want.
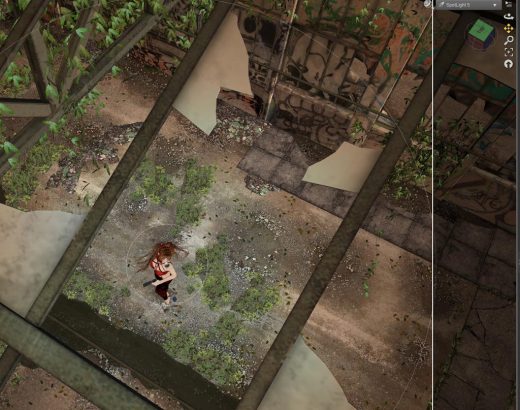
A group that works well for this are buildings with interesting entrances for light, such as large windows, breaks on the roof, doorways, and more. For example, the image below uses Abandoned Interiors: Warehouse by Stonemason. By using this building with the Iray sunlight, we create light patterns on both the girl as well as in the background. Some other example buildings that work well with sunlight are The Old Barn by Age of Armour, The Ministry by Stonemason, and Rural Chateau by Jack Tomalin.
Instead of using a single building, we may also create an outside scene with multiple buildings or structures. In this case, we use the buildings or structures themselves to cast our shadows. For example, our first Lady on a Clock image is an outside scene, with an open structure (from DM’s Fantasy Musings) placed over the girl to cast the proper shadows on the clock-face. Many of Stonemason’s external environments, such as The Streets Of Asia, The Enchanted Forest, and Urban Future 4, can be used with sunlight to create interesting shadows.
2. Positioning the Iray Sun
Next, comes the fun part of positioning the sun so that it hits our scene in the right way, and casts our shadows in the right position. The easiest way to do this is by using a spotlight.
- Add a spotlight by doing Create > New Spotlight, and call it Sun-Spotlight.
- Position the spotlight according to where we want our Iray sunlight to come from. This need not be an exact position, as we can refine it in the next step.
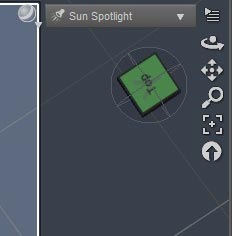
- Set our active camera to Sun-Spotlight, which will show us exactly what our light is pointing at, what shadow shapes it will cast, and approximately where it will cast them. In this mode, we can also adjust our spotlight position by using the usual camera controls (i.e. we can manipulate our spotlight the same way we manipulate a camera).
- We go to Render Settings > Editor > Environment and set the SS Sun Node parameter to our Sun-Spotlight.
- After we do this, the location of our Iray Sun will be based on our Sun-Spotlight. If we change the position and angle of our Sun-Spotlight, the position and angle of our Iray Sun will also change accordingly.
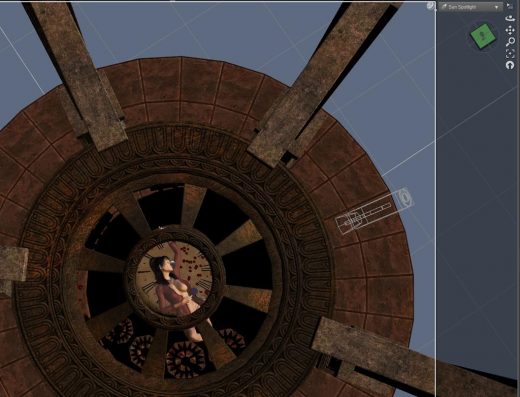
For example, in the Lady on a Clock image, we set our Sun-spotlight view as shown below. We also place our structure directly in the path of our spotlight, so that it will cast interesting shadows on the clock face. Note that even though the structure is very much in the view of our Sun-Spotlight, we keep the face of the girl clearly visible, which means that it will not be occluded by shadows from our Iray Sun.
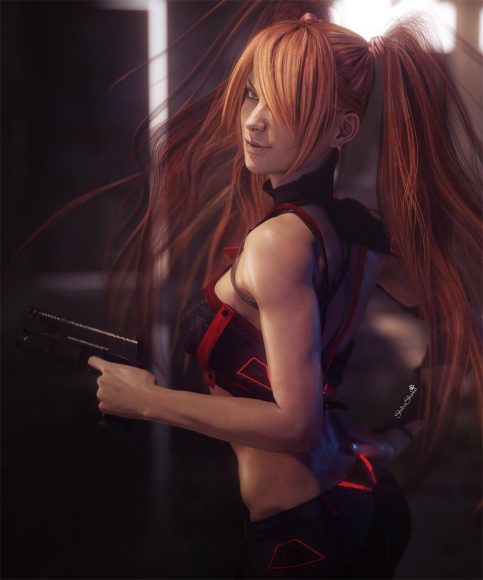
In the Redhead girl with gun image, we set our Sun-spotlight to shine through a hole on the building roof.
Note that there are a series of controls for adjusting the Iray sun. I usually get good results without having to do any additional adjustments, but more details about them can be found here.
3. Combining the Iray Sun with an Environment Map
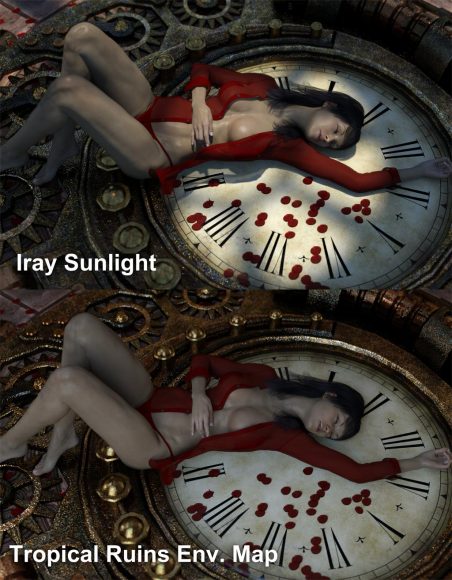
The Iray Sun is great for creating striking patterns of light. However, it can also create harsh lighting and overly strong shadows especially on the human figures in our scene. The images below compares Iray Sun lighting and lighting from the Tropical Ruins Environment Map.
In the Iray Sun image, there are strong shadows. The shadow silhouette of the girl is very sharp because it is close to the clock face. The circle and spoke pattern from our ceiling structure is more blurry because it is farther away. However, the light is too harsh on the girl’s skin, making it appear too glossy and unrealistic. This is in contrast to the Environment Map image which has softer contrast, producing more realistic looking skin.
To get the best results, we render both images as separate light layers and then combine them in Photoshop.
- Open both image files in Photoshop.
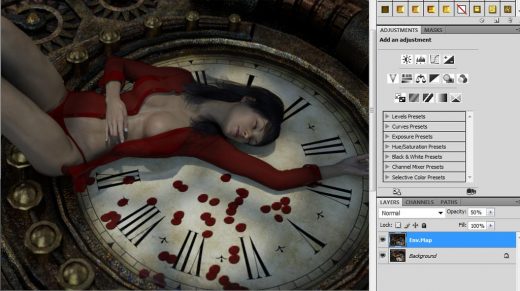
- Select all (Ctrl-A), copy the Environment Map image (Ctrl-C), and paste it (Ctrl-V) into the Iray Sun image file.
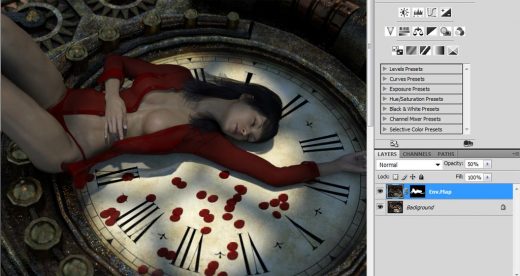
- Leave the blending mode at Normal and adjust the opacity of the Environment Map layer so that we get some of the sunlight shadows on the girl’s body, but also maintain the realistic look of her skin.
- However, the Environment Map layer has weakened the shadows on our clock-face. One way to fix this is to only mask in the figure and remove the background of the image. This makes our figure’s skin be more realistic, but still keeps the strong shadows from our sun.
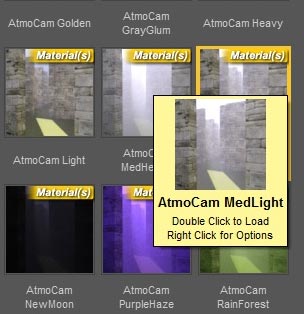
Finally, we may also render our Iray sunlight as a volumetric light to give our scene added atmosphere. I do this in the usual way using AtmoCam for Iray by Marshian. For Iray sunlight, I set the material on my volumetric prop to Atmocam MedLight.
The Redhead Girl with Gun image below has a layer of volumetric sunlight, which gives it added atmosphere in the background.
I do not always use the Iray Sun, but it can be a very valuable tool in our Daz Studio toolbox! 🙂
