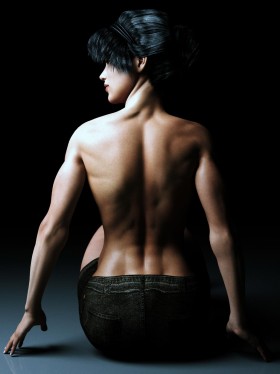
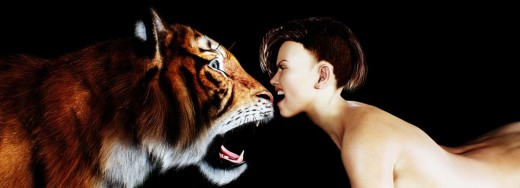
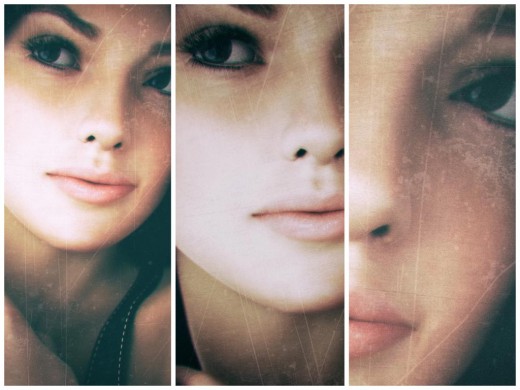
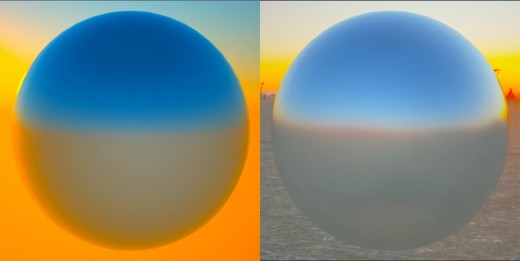
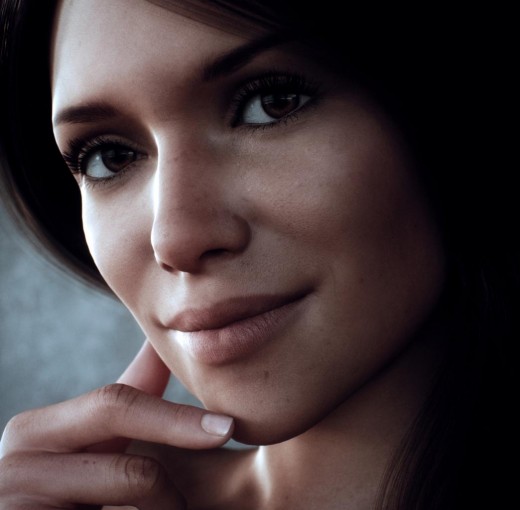
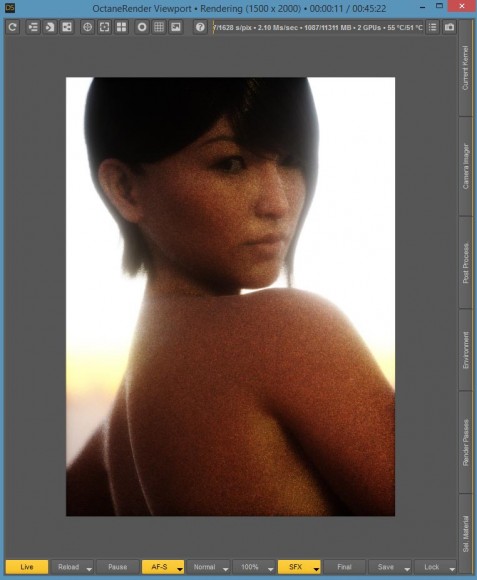
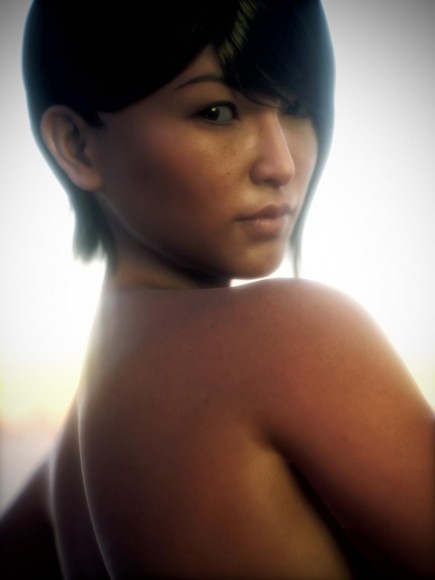
This article and all of the images within were created by the very talented Brian Sains. Copyright © Brian Sains. Check out his gallery here.
Why Octane?
I started using Daz just under a year ago now, with no background in art or design. I run my own business (along with my wife) that specialises in developing communication skills for people with Autism and Learning Disabilities. It was through my work that I discovered Daz Studio, and was interested in its educational potential for developing avatars that could represent different emotions, expressions and social situations. I got to grips with the basics and soon developed some resources that were well received, but they were very plastiky and I wanted a little more realism.
I spent a couple of months working with 3Delight, iRay, Reality (Lux), Indigo (via iClone) and Arnold (via a Cinema4d demo), before discovering Octane. While the render engine does play a role in determining the quality of the render produced – I would place lighting, camera settings, more lighting, shader quality and perhaps even post-work above it in significance.
However, as far as render engines go, Octane appealed to me – it allowed me to stay within Daz, use all of the assets I had accumulated, and most importantly the node based shader/material interface made complete sense to me. It is also fast – very fast. I started tweaking and twiddling skin materials about six months ago, and haven’t really stopped since!
In this article, I will introduce you to using Octane from within Daz Studio, along with the tools and settings you will need.
Octane Renderer
Octane is, like iRay, a Physically Based Renderer (PBR). My understanding of this is that the engine accurately simulates the characteristics of light and it’s interaction with a variety of surfaces. In particular, simulated light bounces around a simulated environment hitting simulated surfaces until it hits the lens of a simulated camara. This article does a great job at explaining the Basic Theory of Physically-Based Rendering.
There are two ways of using Octane with Daz Studio – through the standalone Octane Render Software or the Daz Integrated Plugin. There is very little to separate them regarding the tools available or the quality of what is produced, but the Daz plugin is infinitely easier to use. You make an adjustment in Daz, it is updated in the render preview in close to real-time. If you do not have a licence of Octane, a trial version is available for standalone and plugin versions (www.otoy.com). I use the 3.0.6 beta version, but the tutorial will work just as well with the stable 2.24 version. In terms of hardware I am using an 8 core i7 5960x, 32gb ram, and dual Titan X GPUs, though it will work quite happily on more modest machines (I started on an old Macbook pro).
Once installed, you can access the plugin from within Daz via the OctaneRender Main link in the Render menu, or use the toolbar icon (see below).
To get started, you need to be familiar with the Rendersettings, Environment, and Materials tabs.
Octane Render Settings
Dimensions
Set the dimension (in pixels) of the render image. A number of commonly used ratios are available, and will be familiar to iRay and Reality users.
Kernel Settings
Octane has 4 different Kernel types for processing renders. I tend to always use PMC, though path-tracing is sufficient. PMC is the most processor intensive, and would normally only be used when things like caustics are involved, but I prefer the result. I rarely touch the kernel settings except when there is a seam visible between the forehead and scalp – then reducing the value for Ray Epsilon can help.
Max-sample allows you to set the maximum number of samples that will be calculated before the render pauses.
Imager settings
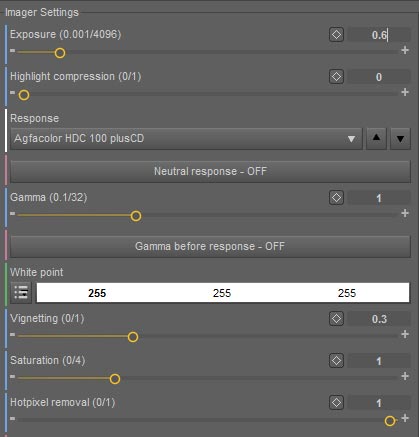
A selection of filters that simulate the colour and tone of common cameras. By default this is set to Linear. I tend to use linear when I am setting up the scene and then Kodachrome or Agfachrome curves. The contrast they provide helps lift some of the finer details in the skin, such as pores and blemishes.
Octane Environment
Here you can choose between the Octane generated daytime environment (left) or HDR texture environment (right). You can also select to have a greyscale or RGB environment.
To set up a HDR image make sure RGB image is selected in the dropdown box on the right and then use the browse bar in the middle to locate the desired image. Do make sure the Gamma is set to one. Once in place you can transform the image using 2d or 3d controllers. I will cover this in greater detail in the next tutorial.
Octane Materials
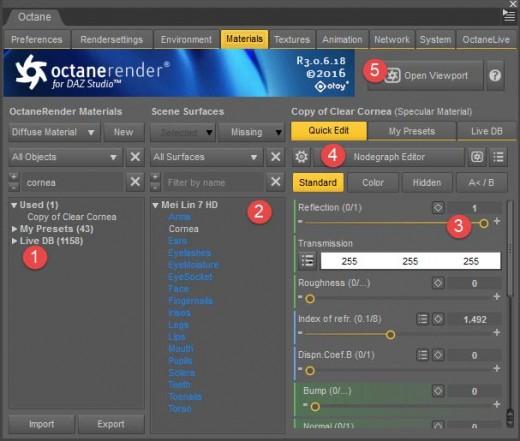
This is where you assign materials (shaders) to your model within Daz.
- Available materials (Used in this file, saved as presets, or from live database)
- Selected model and available surfaces (blue – no material, white – material assigned)
- Selected material properties
- Nodegraph editor – opens the material editor in node view
- Open viewport – opens the render window
To create a new material either:
- Drag it from the used or preset area to the desired surface (you can use the same material on multiple surfaces)
- Right-click the material and copy as new material. The new material will be an instance of the original but can be edited. Then drag the new instance across. This is very useful when setting materials for skin.
- Search the Live Database (not available in demo) – then drag that over to desired surface. This material will then be downloaded from the internet and applied. Materials from the database can be edited/saved as presets once downloaded
- Right click a surface window (2 in diagram), and select either:
- Generate as new material > blank – will create a new blank diffuse material.
- Generate as new material > auto – will take the existing material settings applied within Daz and try to create a suitable material. You will normally need to tweak these auto materials, particularly if they are based on iRay shaders in Daz (though this is improving with newer releases).
- Generate as new light source – will create a new blank diffuse material set up as a simple, textured, or IES profile light emitter.
To edit a material either;
- Adjust settings in the right hand window (3 in diagram). This is suitable for minor tweaks.
- Select the node-graph editor (4 in diagram).
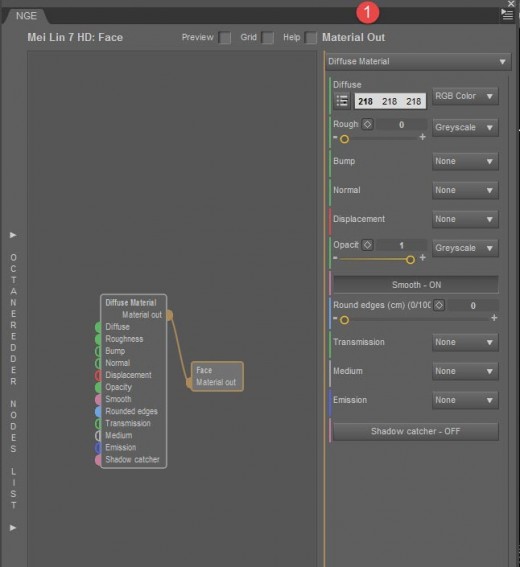
Below, I show the nodegraph editor (or NGE) with a simple diffuse material.
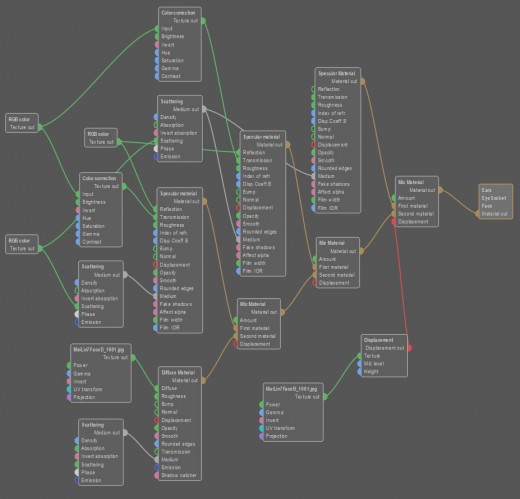
Next, is the node-graph of a more complex skin material.
Octane has four primary nodes:
- Diffuse – solid material surface,
- Glossy – solid shiny surface,
- Specular – clear or transparent surface, and
- Mix node – combines two or more of the previous surface nodes.
Nodes are available from the pull-out list on the left, can be dragged into the main viewport, and then edited on a node-by-node basis on the right. It may seem a little daunting for anyone unfamiliar with node based systems, but this is by far the easiest way to manipulate materials in Octane (and in my opinion within Daz also).
Once you become familiar it is very versatile and can lead to a multitude of new ways for generating materials; for example generating a greyscale image using a noise generator, mixing it with a turbulence generator and using the result instead of a bump map for variation on a the skin surface.
Other nodes are available for setting colour, placing images, generating procedurals (like noise), manipulating uv projections, setting displacement, setting emitters and so on.
Once nodes are placed they can be connected using the colour-coded terminals. This is very useful when new to the NGE, as you can’t plug something in where it can’t be used.
It may also be worth referring to the online manual for more information.
Octane Render Viewport
The final part of the plug-in we will explore is the viewport. This is where you render the scene, as well as fine-tune some of the settings. For example, you can:
- Set manual or autofocus
- Limit render to a selected region
- Adjust kernel settings
- Adjust camera settings
- Set post-processing (like bloom)
- Adjust environment settings
- Generate additional render-passes
- Save final image
Again, I will go into a lot more detail with using the viewport in the next tutorial.
Summary
Now that you are familiar with the core functions and tools within the Octane Plugin, we can move onto setting up a scene based on my Mei image. In the next tutorial I will set up the scene within Daz Studio and cover lighting, camera, and setting materials.
