Birthdays are special.
Everybody has a birthday – fathers, mothers, sons, daughters, uncles, aunts, friends, and more. As a result, there are a wide range of birthday themes. Some common birthday card pictures include-
- Celebration – Includes balloons, cakes, cupcakes, streamers, and other party elements.
- Flowers – Includes flower photos, digital flowers, painted flowers, cartoon flowers, and much more.
- Animals – Includes rabbits, birds, dogs, and teddy bears, not too unlike Easter card theme elements.
Making our own birthday card is fun and we can customize it to suit the temperament and taste of our loved ones. This shows them that we know them, love them, and care to listen.
Making a Birthday Card 1 – Foreground Objects
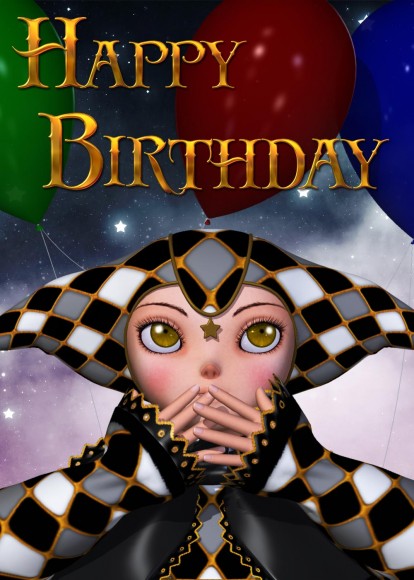
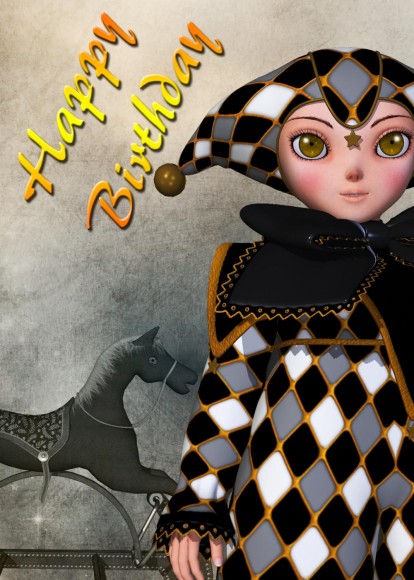
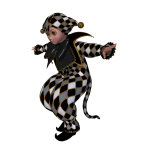
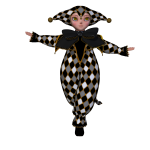
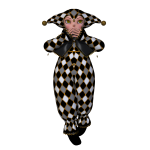
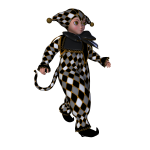
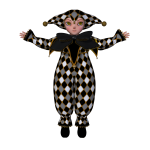
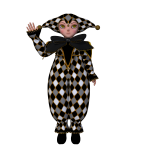
The first step in making a birthday card is to pick appropriate foreground objects that speak to our birthday boy or girl. For example, in this article I decided to use a cute young clown as my foreground object. The boy clown captures youth, fun, celebration, and can be used to create a compelling birthday card that appeals to children and adults alike.
For the birthday card pictures above, I first rendered my cute clown in a 3D-rendering program (Daz Studio, Poser, Carrara). These programs allow me to pose the 3D clown figure however I want, set camera angles, lighting, and much more. Once I am done, I render the images on a transparent background so that I can integrate them with background and lettering to create my birthday card.
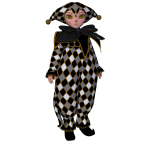
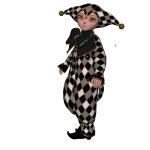
I have included a set of rendered clown figures below, in a variety of fun poses. Feel free to use them to make your own birthday cards.
Making a Birthday Card 2 – Background
After we choose appropriate foreground objects, we want to integrate it with a compelling background. The background should help to highlight and frame the foreground object, but not overshadow it.
When making my card background, I usually start by picking a color scheme. I pick something that will meld well with the colors of my foreground objects. I do not want the background to be too colorful or busy, as that will drown out my foreground elements. Here is a simple tutorial on how to make our card background.
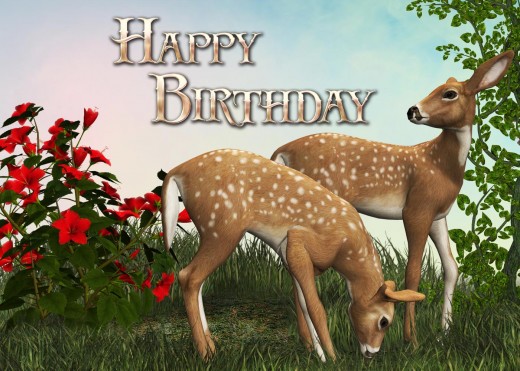
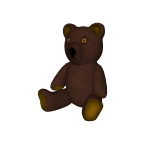
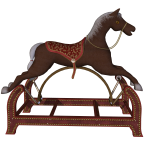
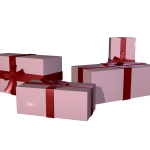
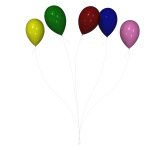
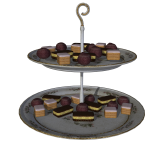
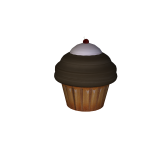
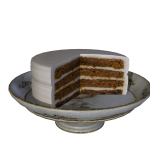
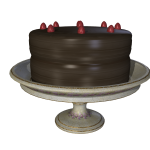
Once I have a colored background layer, I add in some accent objects to enrich my picture, and balance out awkward empty spaces. Some appropriate birthday objects may include colorful balloons, toys, presents, cakes, and cupcakes. Create your own background objects, or feel free to include any of the rendered objects below.
Making a Birthday Card 3 – Lettering
The last step is to add appropriate lettering to our card. Most online card making sites, such as Zazzle and CafePress, provide a large range of fonts to their users.
However, I still prefer to make most of my lettering in Photoshop. This is because Photoshop has many interesting blending options that I can add to my text including drop shadows, color gradients, glowing letters, and more.
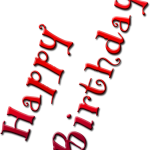
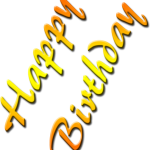
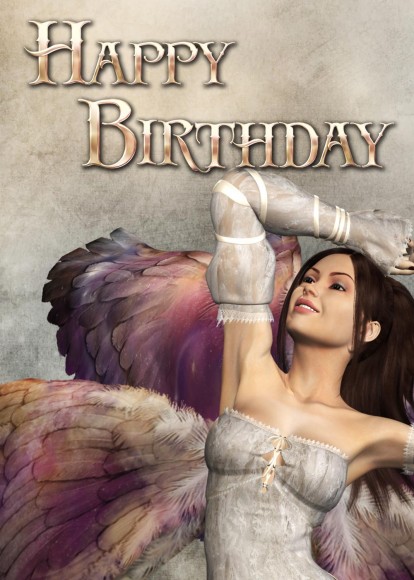
Below are some “Happy Birthday” lettering styles that I made in Photoshop. Feel free to use them for your personal card making needs.
We Are Done!
By using the procedure above, we can create a wide range of compelling birthday cards that are personalized to the people that we love.
Have fun and let your creativity run free!


Hi Can i ask what font did you use for the birthday Text 7 and where can I get it. Kind regards Brenda
I think I got it from Renderosity although I don’t remember exactly which product it is. It could be the one by moonbeam1212.